Just because you have a new operating system doesn’t mean everything is working like it should.
Here’s a secret: If you installed Windows 10 today, you agreed to have your computer act as a peer-to-peer host for sharing Windows Updates. That’s pretty uncool, and it could kill your bandwidth when playing online games. But don’t worry — we’re going to show you how to turn that off and how to get the most of Microsoft’s latest operating system.
Stop using your bandwidth to share Windows updates online

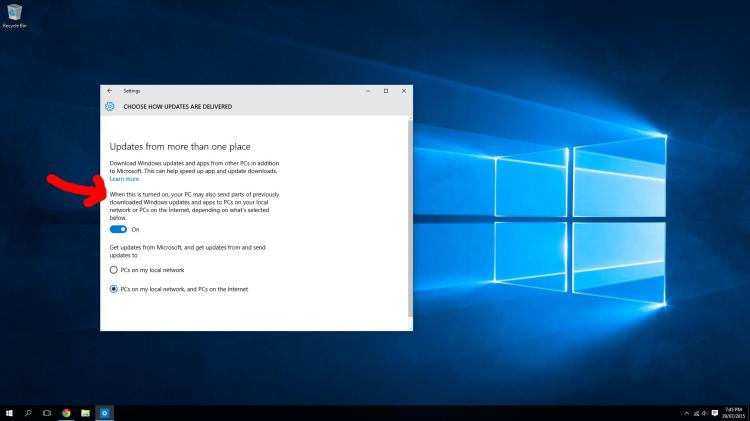
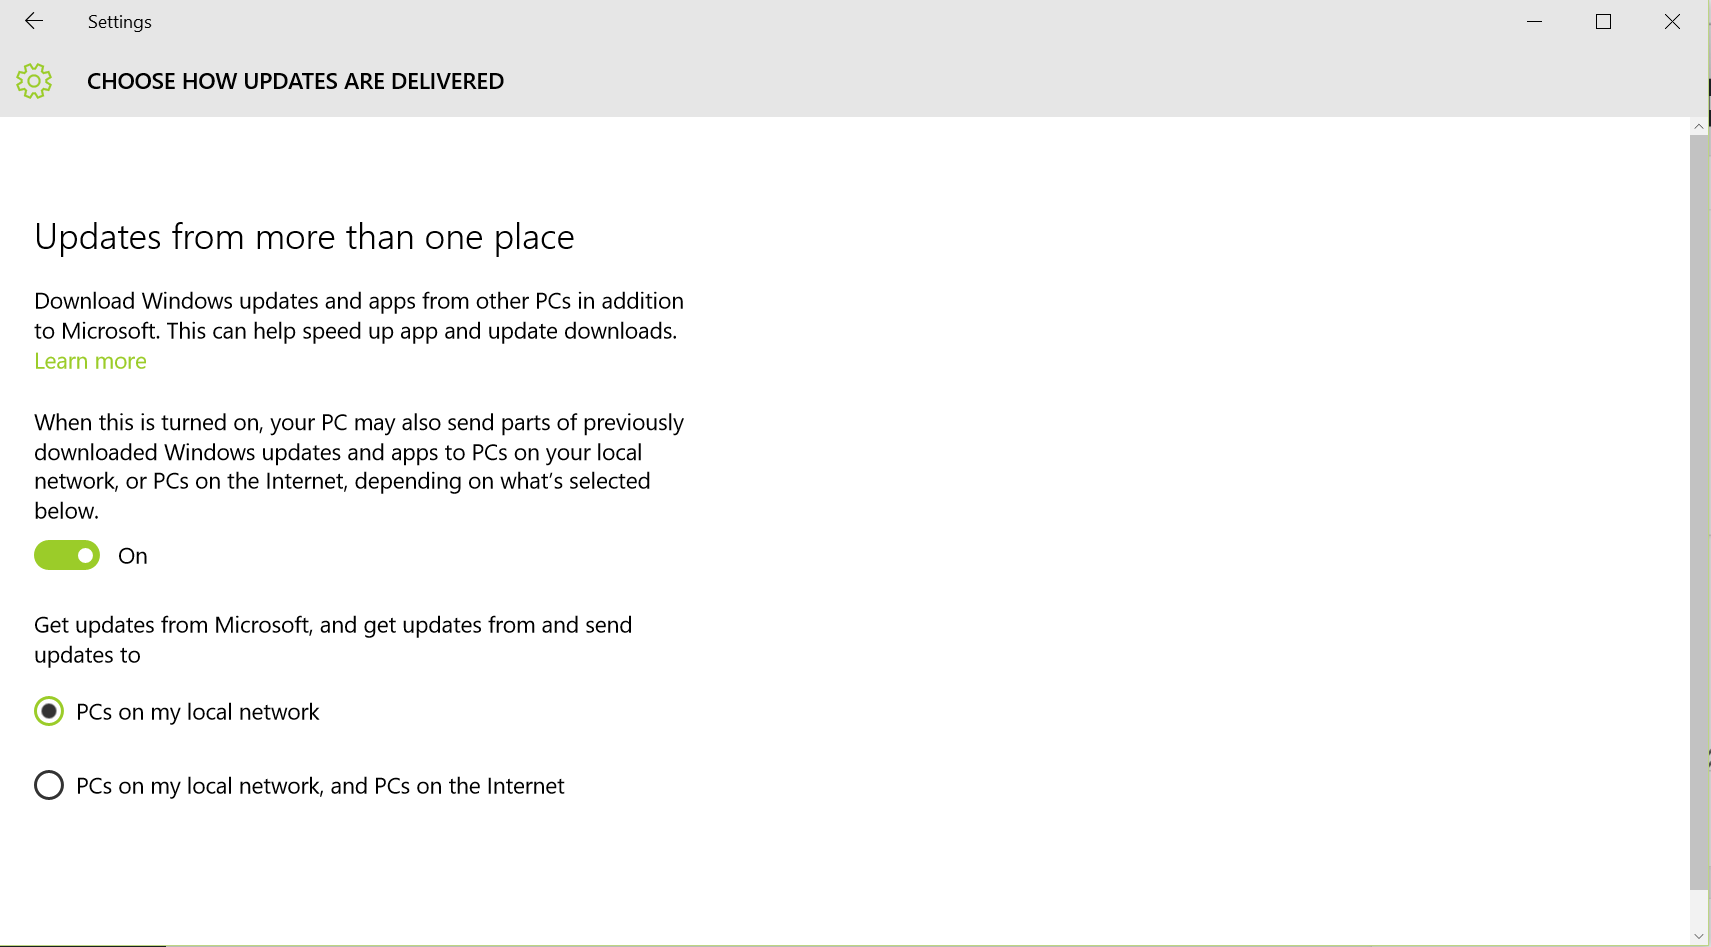
Above: If you leave Windows 10 set like this, it will share update files with other users over your Internet.
Look, I’m all about one for all and all for one. The Three Musketeers is really great — love you, Oliver Platt — but this Windows 10 option is a bit ridiculous. When this is turned on, Windows 10 updates will behave just like a peer-to-peer sharing network similar to Torrents or Napster, if you’re old enough to remember such a thing.
But here’s how you turn it off:
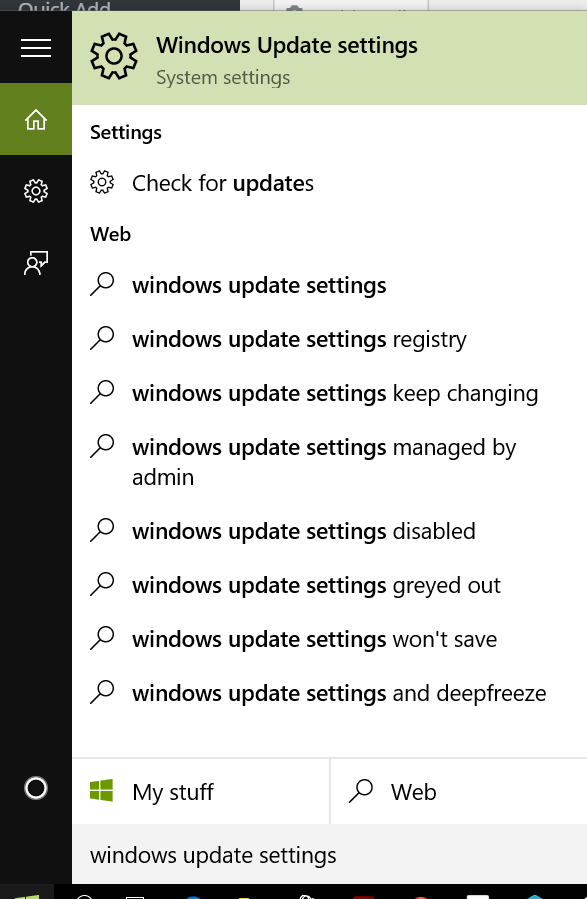
Hit your Windows key on your keyboard and type “Windows update settings.” Click on the top option, which also reads “Windows update settings.”
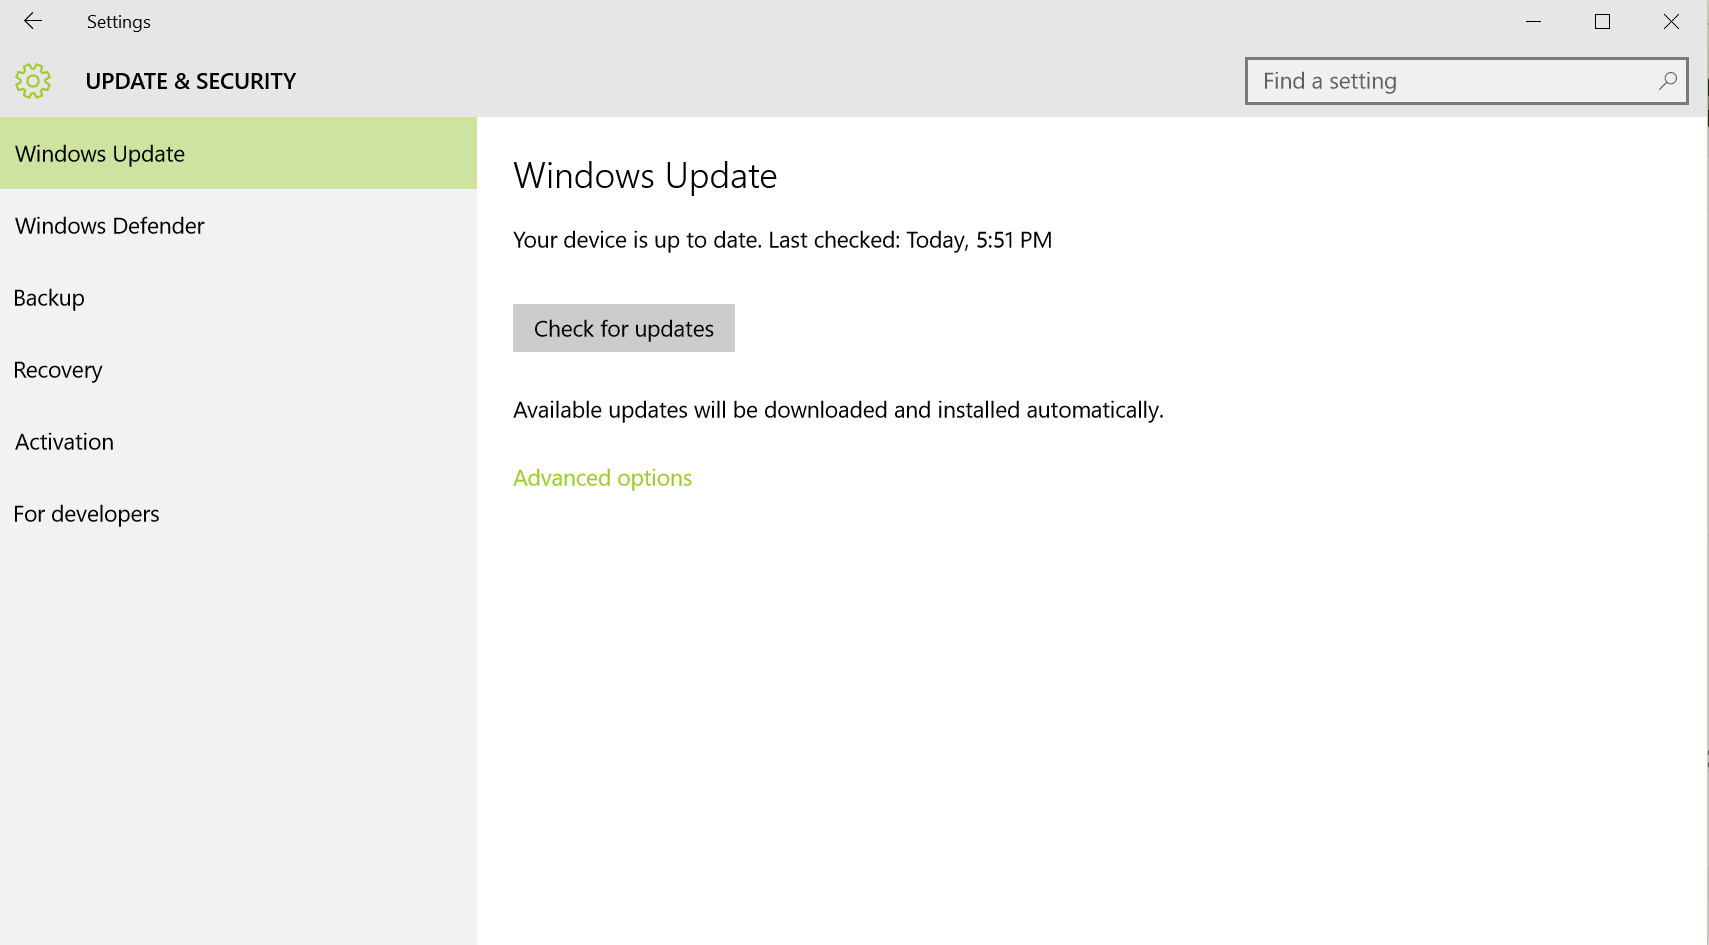
Click on the green, highlighted words that read “Advanced options.”
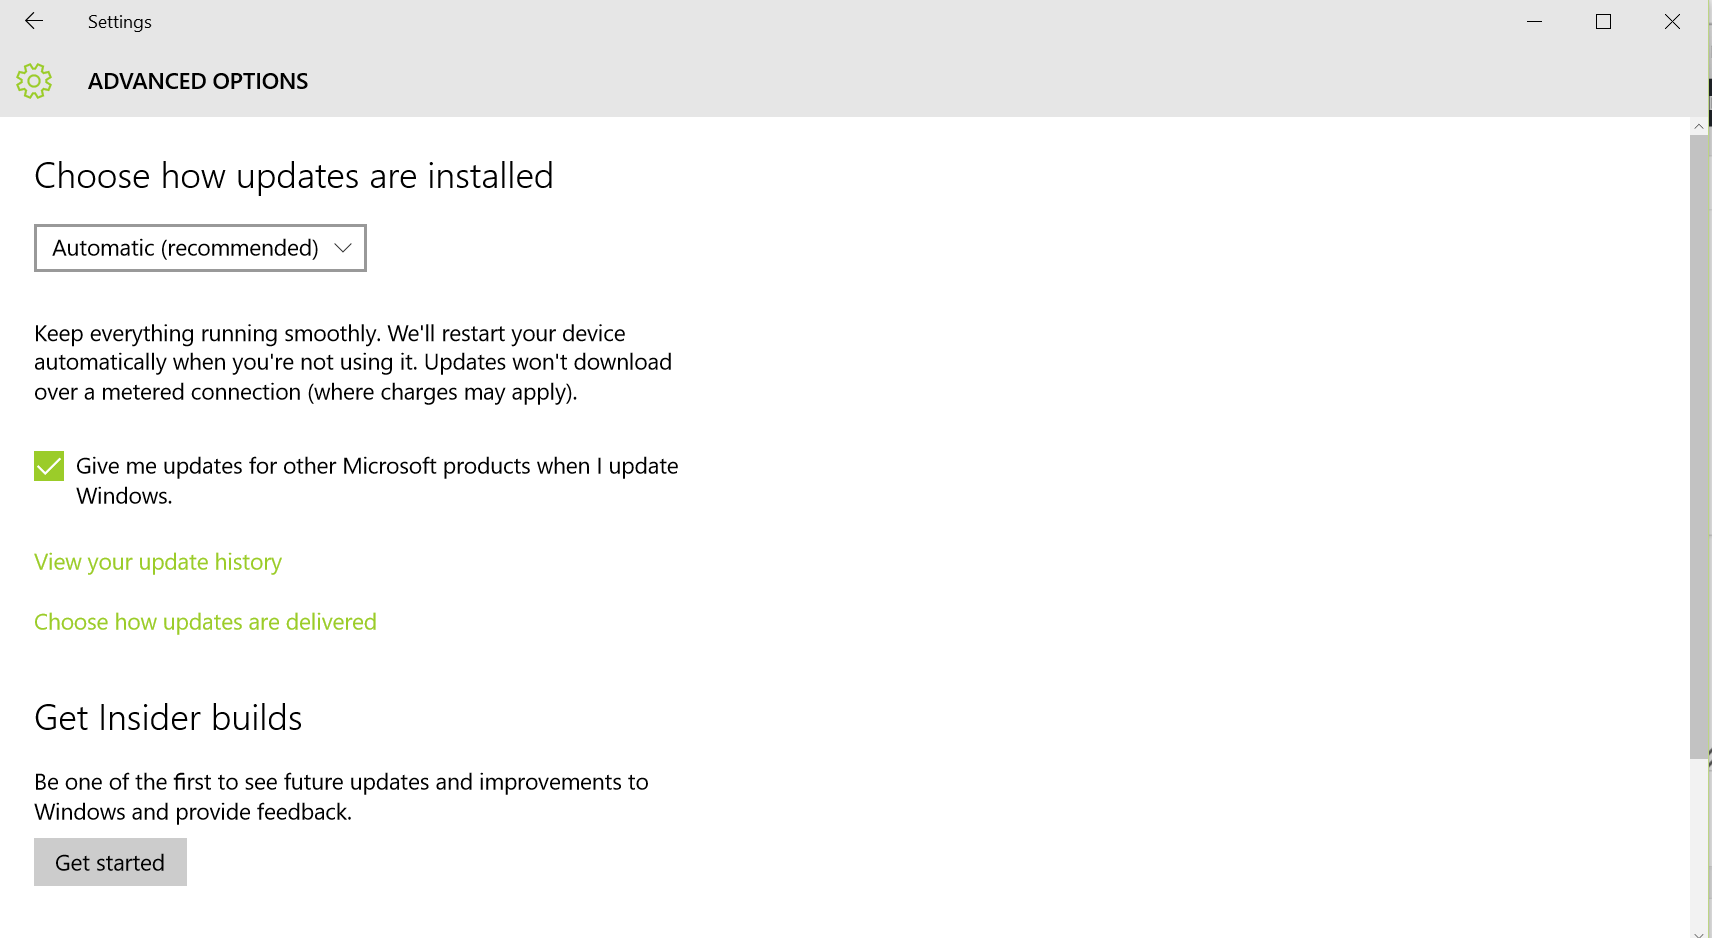
Now, click on “Choose how updates are delivered.”
This is where you can make your changes. Either turn this feature off completely, or do what I did and set it to only share with other computers on your network. Hopefully this means that I will be the only one to wait a bit longer for updates, and my wife’s system will benefit from me sharing locally.
How to do a clean install of Windows 10
PCs are high-tech, complicated machines — especially if you’re running Windows. And that means that in order to get the most out of a new OS, like Windows 10, you should do a clean install instead of trying to bring along all your old files, apps, and settings from a previous version. That kind of upgrade — which is the default if you’re doing the free path to Windows 10 — can lead to all kinds of weird errors and conflicts.
But here’s the good news: You can definitely do a clean install of Windows 10 without paying for it. You just need to know where to look.
Important: No matter what, you should upgrade to Windows 10 from Windows 8 or Windows 7 the normal way. People are running into errors trying to circumvent that step. Also, we won’t guarantee that this will work for Windows pirates.
OK, just like in the steps above, you’ll need to start this out by hitting your Windows key, typing “Windows update settings,” and clicking on that option in the menu.
On the left hand side, choose the “Recovery” tab.
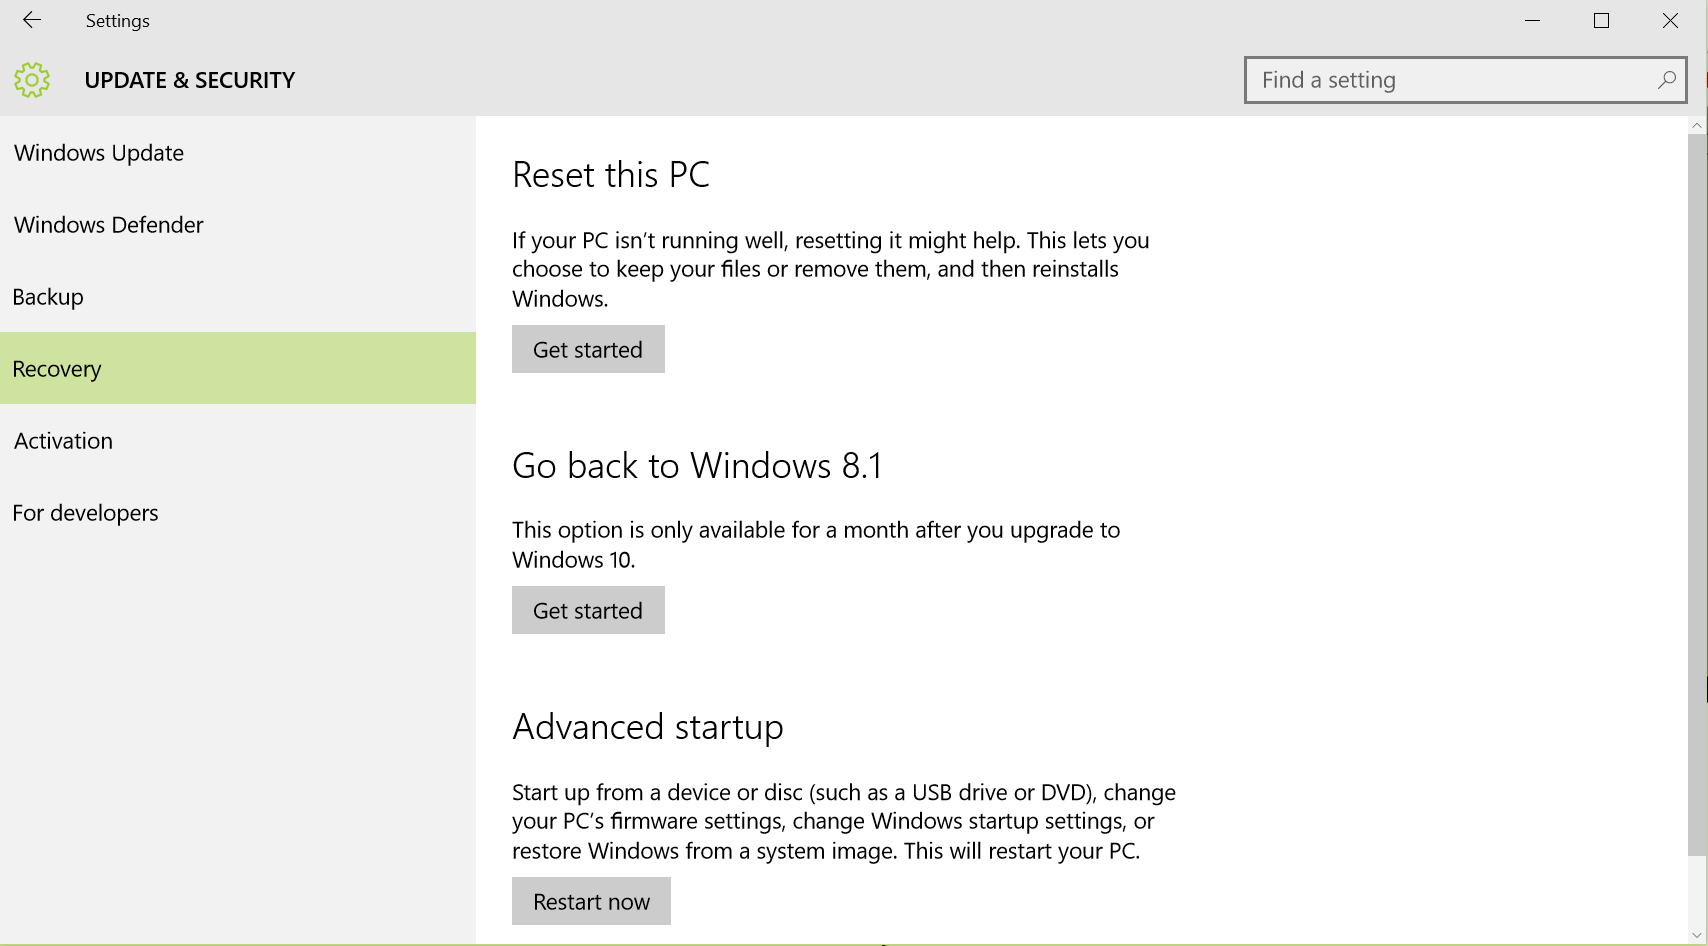
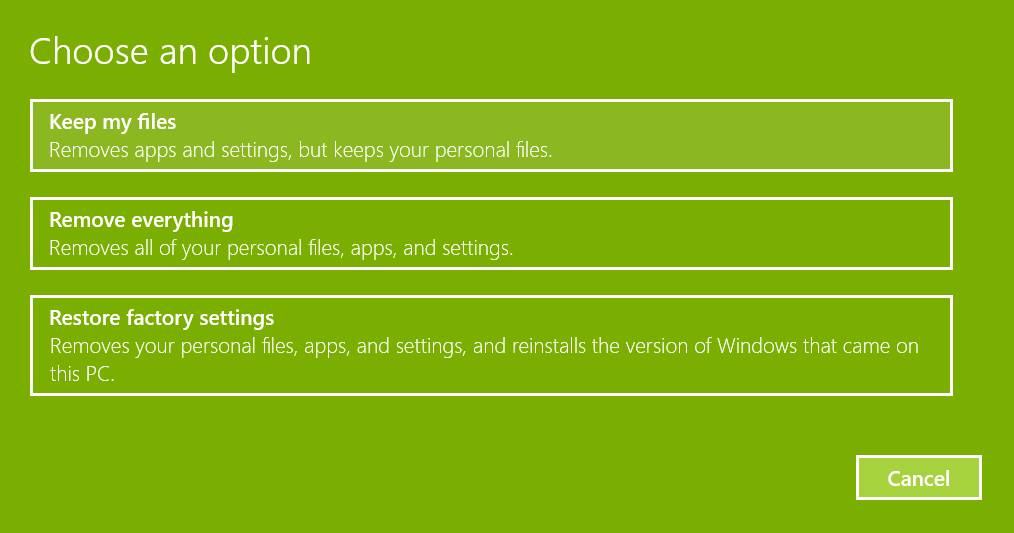
Choose the “Reset this PC” option. Then select how you want to proceed — Windows can keep some of your files if you want, but you can also wipe everything and get back to the Windows 10 factory default.
Clean up your drives without doing a clean install
Finally, getting games to run well on your PC is a lot about maintenance. Get off to a good start with Windows 10 by doing some disk cleanup.
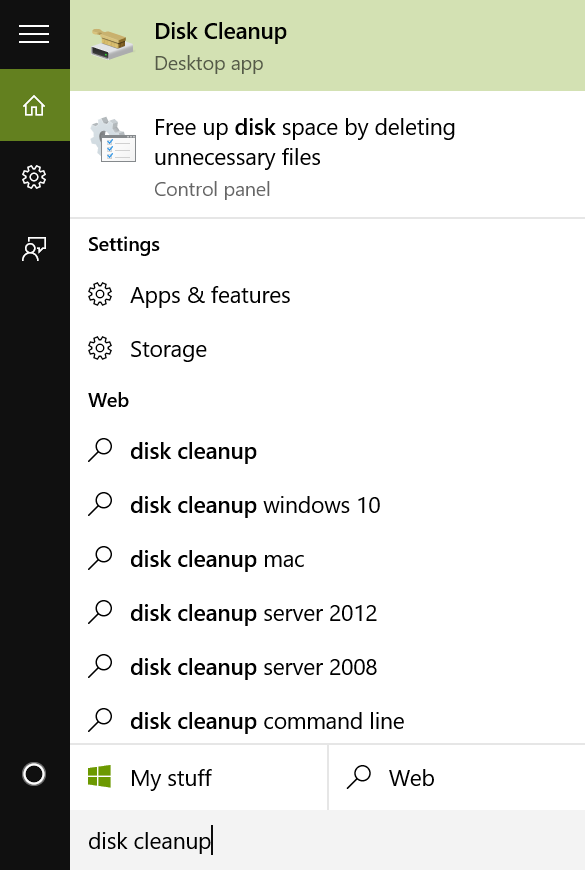
Hit the Windows key on your keyboard and type “Disk cleanup.” Hit the “Disk cleanup” option at the top of the start menu.
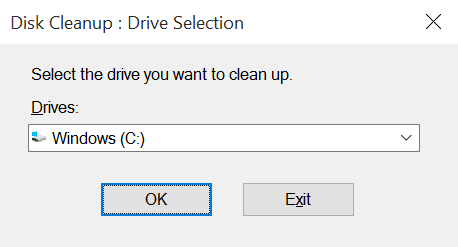
Choose the drive that hosts your primary Windows folder. This is probably C:, but it should also say “Windows.”
Select “Clean up system files” on the bottom left of the menu. It’s not in the list of options — it’s just above the “OK” button.
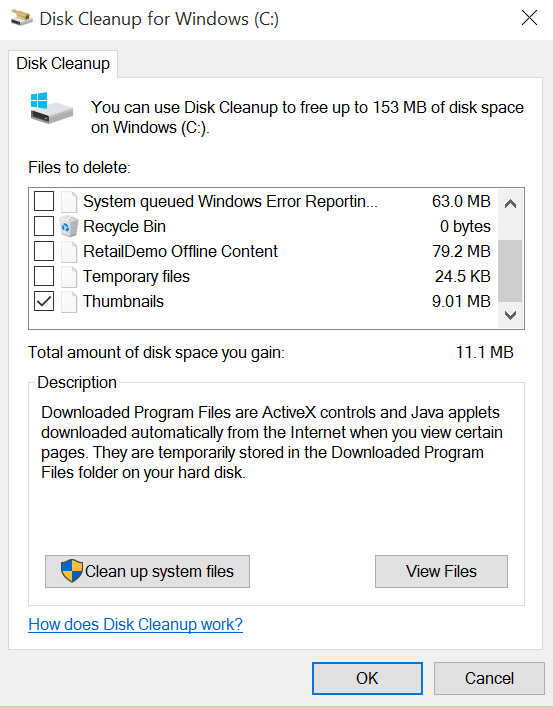
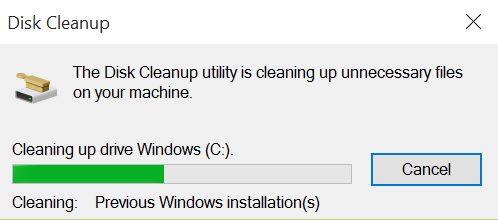
Once again, select your Windows drive and hit OK. In this new list, you can just go with the default cleanup — or you can also delete your previous Windows installations. I went ahead and deleted my previous installations (and got back 15GB of space in the process), because I’m never going back to Windows 8.1.
VentureBeat's mission is to be a digital town square for technical decision-makers to gain knowledge about transformative enterprise technology and transact. Learn More
