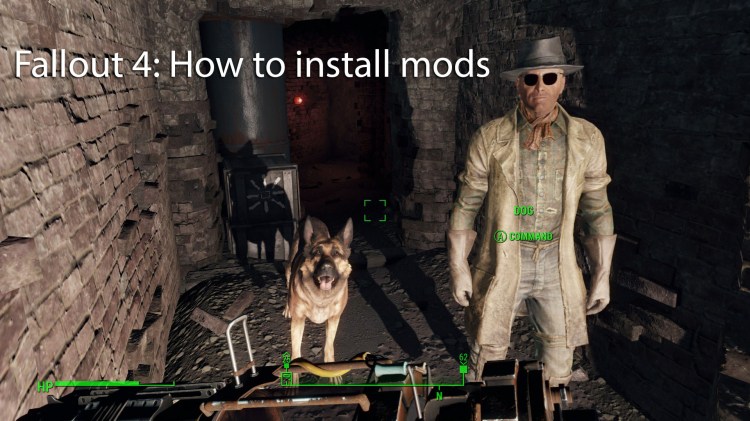
After 80 hours of playing vanilla Fallout 4, I’ve decided that it’s time for mods. Here’s how you can join me.
Before we get started with the instructions, I want to point out that modding Fallout 4 is simple, but it will get easier as time goes on. Publisher Bethesda has yet to release its official modding tools for its latest open-world hit. We should get that next year along with Steam Workshop support. Steam Workshop is how Valve enables developers and the community to instantly plug add-ons into games natively through Steam. This enables players to click the “subscribe” button on a workshop page in Steam to instantly add mods. But even when that happens for Fallout 4, the process I’m about to go over should always work.
Let’s get to it:
Installing mods
Finding and downloading mods
- First, you’ll need to find mods that you want to use with Fallout 4.
- The most trusted site right now is Nexus Mods.
- Pick a mod like Lowered Weapons, and click on the “Files” tab.
- Click the “download manually” link.
- Save the file to your desktop or a Fallout 4 mods folder.
Extracting and installing mods
- Go to the folder you downloaded the mods to.
- Use a program like WinRAR to extract the downloaded files into a new folder.
- Use the “Extract to …” option to ensure that files don’t get lost or disorganized.
- Go into the new folder and copy the applicable files.
- Generally, you’ll want to copy the entire folder (Meshes in the Lowered Weapons example).
- Find your Fallout 4 install location, which is typically: C:\Program Files (x86)\Steam\steamapps\common
- Paste the copied folder into Fallout 4’s “Data” folder.
- If it asks you to replace or merge files, hit “yes.”
Editing the .ini file
- Finally, you need to edit the .ini file to teach Fallout 4 to look for mods.
- Find the .ini file, which is almost always here: C:\Users\*USERNAME*\Documents\my games\Fallout4
- Right click on Fallout4.ini and select Edit.
- Hit CTRL+F and search the file for this: “sResourceDataDirsFinal=STRINGS\”
- In the case of Lowered Weapons, add “, MESHES\” to the end of that line.
- It should now read: “sResourceDataDirsFinal=STRINGS\, MESHES\”
- Go to file and Save As and replace the current .ini file.
- Keep in mind that it won’t always be “, MESHES\” that you’ll need to add. It depends on the name of the file that you add to Fallout 4’s Data folder.
Now, all you have to do is boot up the game and enjoy. Let us know if you have any issues.
VentureBeat's mission is to be a digital town square for technical decision-makers to gain knowledge about transformative enterprise technology and transact. Learn More


