Twitter bots can do a heck of a lot more than just spam trending hashtags and relentlessly follow users.
Take the Twisst ISS alerts bot, which sends you a direct message whenever the International Space Station will be visible at your location.
Or public service bots like the Earthquake Robot, which tweets about any earthquake greater than 5.0 on the Richter Scale as it happens.
And of course a robot that tweets poetry, poem.exe, along with one that will retweet your tweets that also happen to be an Accidental Haiku.
I personally use a bot to enhance my @ScottDevTweets account by liking and retweeting subjects I have an interest in.
The #100DaysOfCode community challenge will congratulate you on starting the #100DaysOfCode challenge, and again when you reach specific milestones.
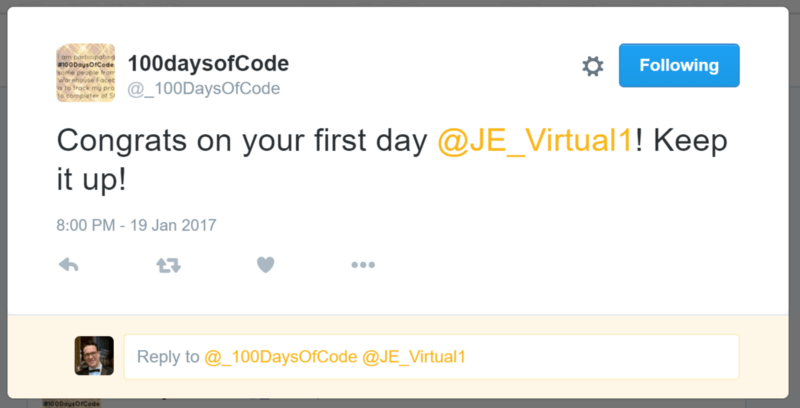
Above: Bot user congratulation.
It will also reply with encouragement if it detects negative sentiment (frustration) in a tweet that has the #100DaysOfCode hashtag in it.
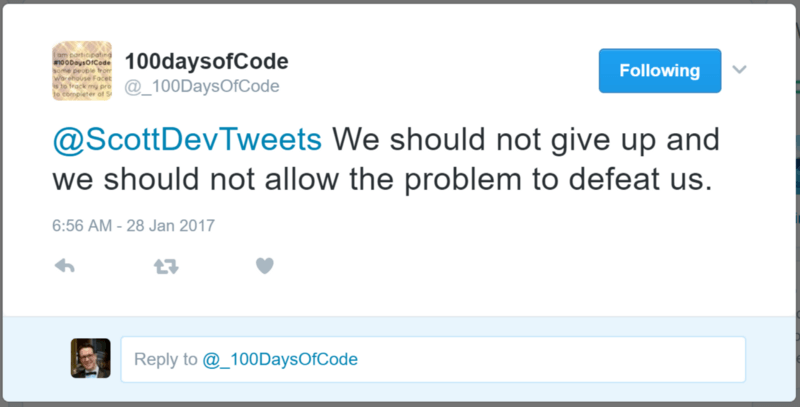
Above: Bot sentiment detection.
One question I’m asked in job interviews quite often is “what do you get out of working with technology?” I always answer, “I like to automate repetitive tasks to save me time so I can concentrate on other stuff. I like the the feeling of accomplishment that comes with having saved myself some time.”
In the case of my @ScottDevTweets bot, it’s usually an opener for a conversation with another person who follows me. So the bot can initiate the conversation, then I can carry on from where the bot left off.
Bearing this in mind, a bot is only as ethical as the person who programmed it.
If you have any doubts about the ethics of the bot you’re building, check out botwiki‘s ethics section.
So, ready to get started? OK. Let’s do this!
How to build a Twitter bot in 30 minutes
You’re going to use the twit library to build a Twitter bot. It will like and retweet whatever you specify. It will also reply to your followers with a selection of canned responses.
Note that if you choose to use Heroku and/or Cloud9 IDE to build this (like I do below), you’ll need a credit card number to create these accounts.
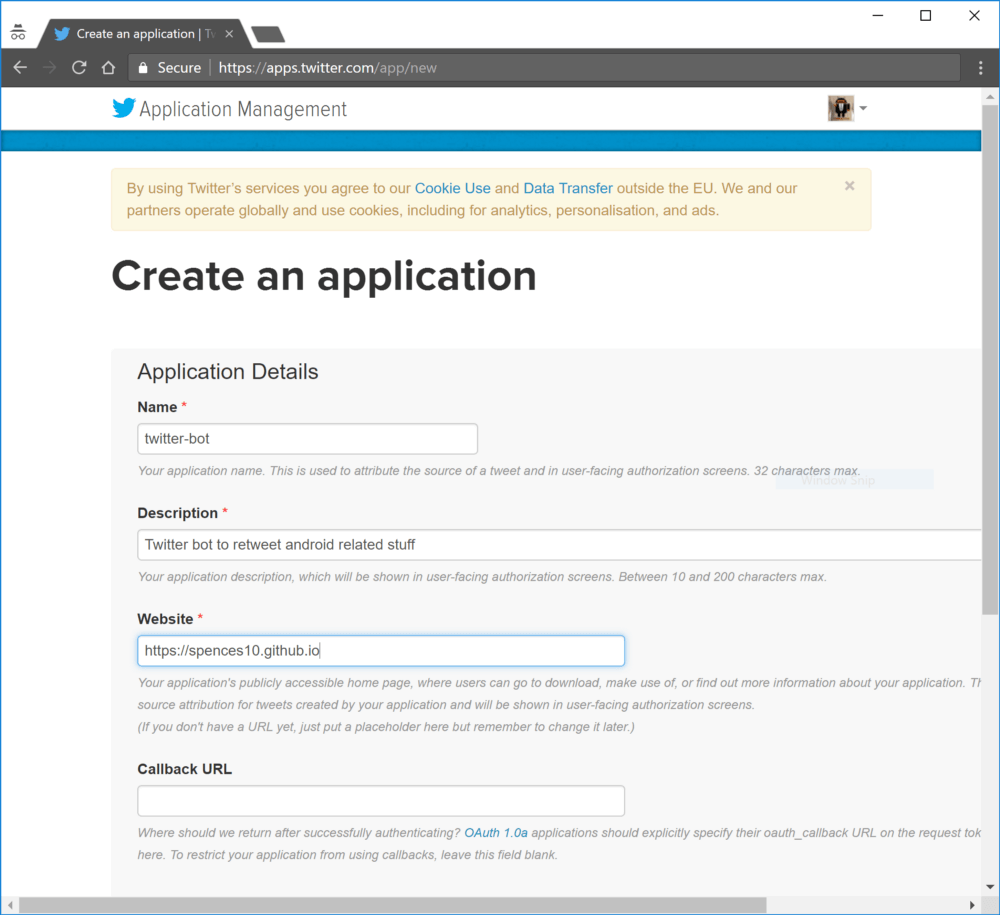
Step #1: Set up a Twitter application
Either create a new Twitter account or use your own to create a new Twitter application.
As an example, I’ll configure my old @DroidScott Twitter account so you can follow along.
Be sure to add your phone number to your Twitter account before clicking the Create your Twitter application button.
You should now be in the Application Management section, where you will need to take a note of your keys. You should have your “Consumer Key (API Key)” and “Consumer Secret (API Secret)” already available.
You’ll need to scroll to the bottom of the page and click the Create my access token to get the “Access Token” and “Access Token Secret.” Take note of all four of them — you’ll need them when setting up the bot.
Step #2: Set up your development environment
For this I’m just going to say use Cloud9; you can be up and running in minutes with one of the pre-made Node.js environments.

In the project tree, delete the example project files of client, package.json, README.md, and server.js — you won’t need them, although you can leave them there if you desire.
In your new Node.js c9 environment, go to the terminal and enter:
git clone https://github.com/spences10/twitter-bot-bootstrapProject structure
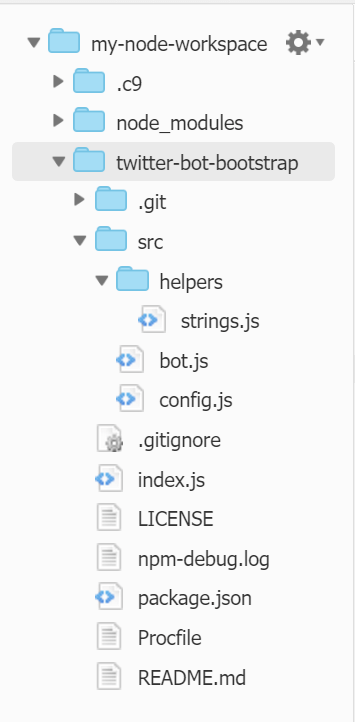
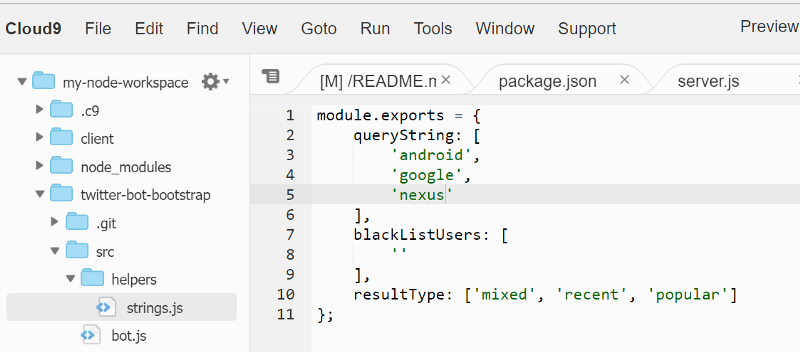
The environment project tree should look something like this:
Node dependencies
Before configuring your bot, you’ll need to install some dependencies. In your terminal enter:
npm install --save twit
npm install --save unique-random-array
Then cd into your new folder cd tw*, which will move you to :~/workspace/twitter-bot-bootstrap (master) $
From here you can configure the bot. From the terminal, enter:
npm init
This will configure the package.json file with your details as desired. Just keep hitting return if you’re happy with the defaults.
Onto the Twitter keys. Now you’ll need to add these to the config.js file. You can then add some keywords into the strings.js file for what you want to search on.
Then add the username of the Twitter account you are using to the tweetNow function in the bot.js file; this will ensure your bot doesn’t reply to itself when it has been followed by a user.
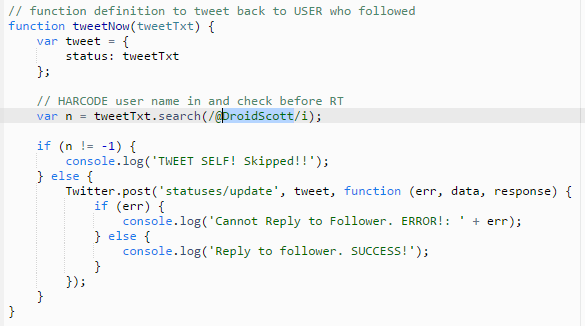
This step isn’t strictly necessary if this account isn’t going to be following any users.
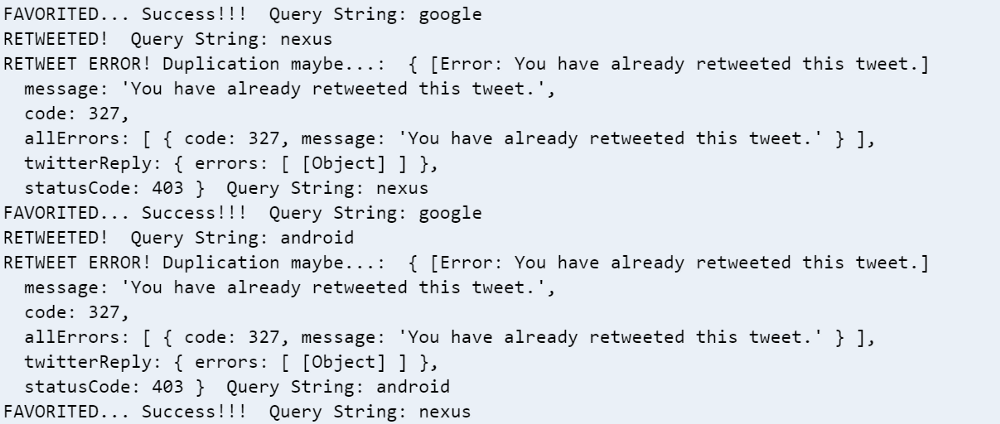
That should be it. Now go to the terminal and enter npm start — you should get some output:
Check the Twitter account:

Step #3: Setting up Heroku
Cool, now we have a bot that we can test in our dev environment. But we can’t leave it there — we’ll need to deploy it to Heroku.
If you haven’t done so already, set up a Heroku account and then select Create a new app from the dropdown box top right of your dashboard. In the next screen, name the app it if you want, then click Create App.

You’ll be presented with your app dashboard and instructions for the deployment method.

Your app name should be displayed on the top of your dashboard. You’ll need this when logging in with the Heroku command line interface, which we’ll use to deploy your app.

From your c9 environment terminal, log into Heroku. (It should be installed by default.)
Enter your credentials:
cd twitter-bot-bootstrap
git init
heroku git:remote -a your-heroku-app-name
Deploy your application:
git add .
git commit -am 'make it better'
git push heroku master
You should get build output in the terminal:
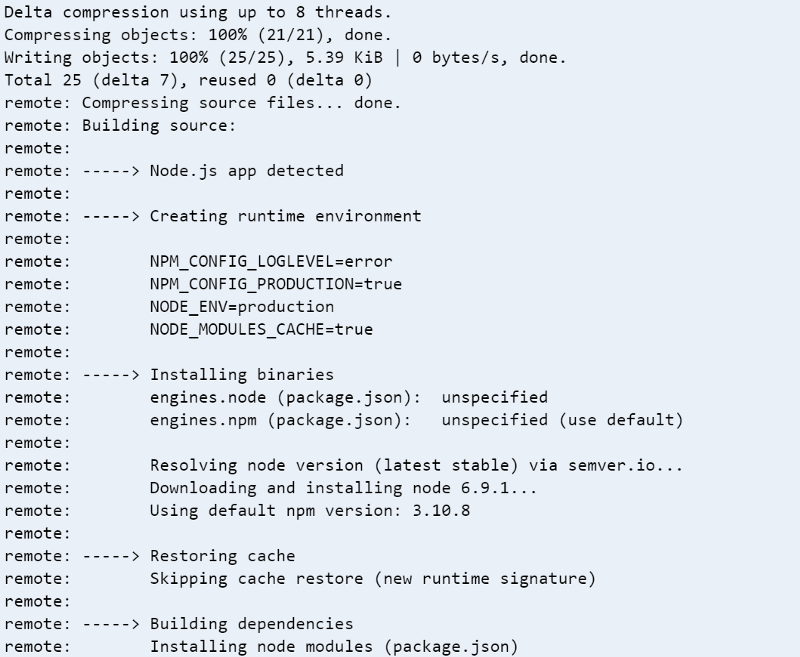
Then check the output width.
All good? Cool!
Heroku deployment via GitHub
You can also deploy your app by connecting to GitHub and deploy automatically to Heroku each time your master branch is updated on GitHub. This is straightforward enough.
Go to the Deploy dashboard on Heroku and select GitHub as the deployment method if you have connected your GitHub account to your Heroku account. Then you can search for the repository. If you forked this repo, then you can just enter twitter-bot-bootstrap and hit Search and then click the Connect button; you can then auto-deploy from GitHub.

Heroku troubleshooting
What do you mean it crashed!?

Ok, I found that sometimes the worker is set as web and it crashes out. Try setting the worker again with:
heroku ps:scale worker=0
heroku ps:scale worker=1
By default you can only push your master branch if you are working on a development branch, i.e. dev branch. If you want to test on Heroku, then you can use:
git push heroku dev:masterWrapping up
Your Twitter bot should now be live. You can tinker with it and further configure it.
Here’s my repository if you’d like to fork it and contribute back using pull requests. Any contributions large or small — major features, bug fixes, integration tests — are welcome, but will be thoroughly reviewed and discussed.
Acknowledgments
Credit for the inspiration for this should go to @amanhimself and his posts on creating your own Twitter bot.
- Create a Simple Twitter Bot with Node.js
- How to make a Twitter Bot with NodeJS
- Twitter McTwitBot (my account of working with amanhimself’s instructions)
- awesome-twitter-bots Github repository
Other posts detailing useful Twitter bots:
Made it this far? Wow, thanks for reading!
This article appeared originally on Medium.
VentureBeat's mission is to be a digital town square for technical decision-makers to gain knowledge about transformative enterprise technology and transact. Learn More
