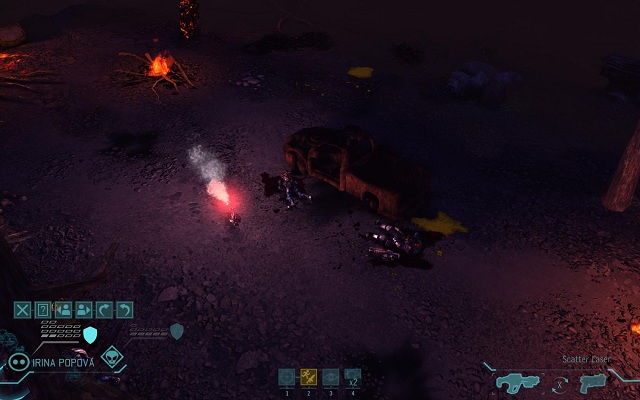
So your Skyranger troop transport just came back empty. The Nigerian government reported alien activity in the city of Lagos, where you unsuccessfully engaged groups of surgically enhanced flying creatures and four-legged bugs that made quick meals of your solders and, oh yeah, turned them into zombies. You were using cover, right? Overlapping fields of fire? No?
All right, wipe that blank stare off your face because I’m here to take you through XCOM boot camp. Within, we’ll cover the basics, soldier ability progression, and tactical maneuvers. I’ll have you scraping Martian scum off the bottom of your shoes in no time flat.
Basic training
XCOM’s squad-level skirmishes are turn-based, meaning that you’ll move your soldiers first and then wait for the alien player (the computer A.I.) to move its. You’ll always get the first-turn advantage.
Each heavily armed warrior on your team can take two actions per turn. Your options include: moving twice, moving once and then taking an action, taking an action first, or dashing across a great distance. The latter two options consume both of a soldier’s actions at once. Some soldier-class specific skills bend the rules a little here, but we’ll get into that later on.
Actions that your troops can take include firing their weapons; using grenades, Medikits, or other items; going into Overwatch, which allows the unit to take a reaction shot against any aliens that enter into the soldier’s visible range; and using special abilities unique to each class. Dashing gives soldiers an increased chance to dodge enemy reaction fire.
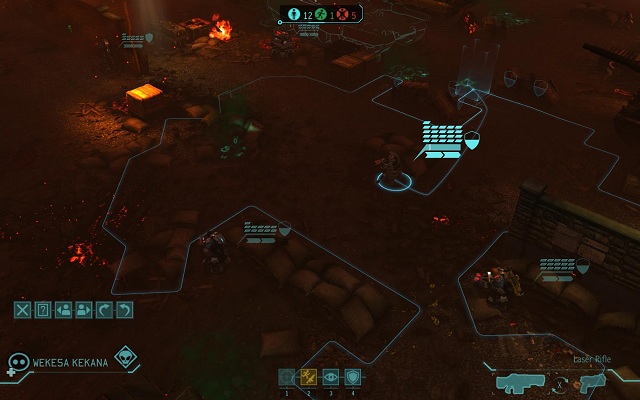
Most missions require that you eliminate all threats from the map; although, you can retreat from an engagement going poorly by running back to the Skyranger. Others could task you with escorting critical personnel to a dust-off zone or disabling a ticking time bomb.
You must be careful, though, as you fight through each tactical battle. Soldiers whose health reaches zero will die — and in stark contrast to many other modern, big-budget games — permanently. Sometimes, a trooper might fall into a critical condition instead of outright perishing; however, you will only have three turns to stabilize him with a Medikit before he bleeds out.
Now that we have the basics out of the way, let’s discuss the troops themselves.
Soldier progression
New recruits begin the game as Rookies. After earning some experience in a firefight, they each upgrade to one of four classes: Heavy, Assault, Sniper, or Support. The Heavy can fire a rocket launcher, the Assault gets Run & Gun (which allows him to dash and fire in the same turn), the Sniper gets Headshot (which increases his chance to inflict critical damage), and the Support can throw down smoke grenades, conferring additional defense to any units within the cloud.
Each subsequent promotion up the command chain gives you the option to select special abilities unique to each soldier type, and many ranks force you to choose between two different perks. Class also limits which weapons are available to your team members.
Selecting complementary skills can create powerful combinations that not only open up new tactical options, but also help keep your troops alive through the fight. I’ll highlight possible builds for each class, detailing their combat roles, on the next page.
The “Sarah Connor”
Class: Heavy
Abilities: Bullet Swarm, Shedder Rocket, HEAT Ammo, Danger Zone, Mayhem
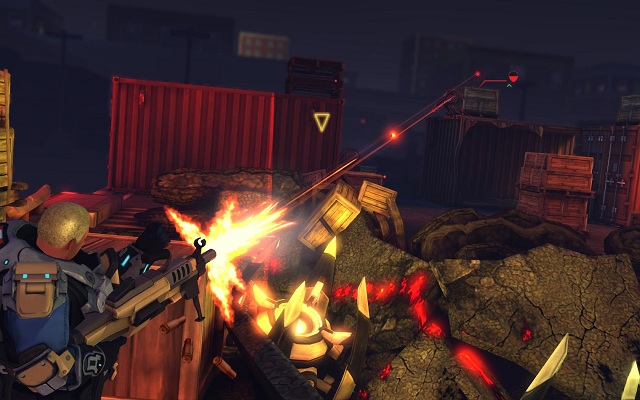
Just as the name implies, your “Sarah Connor” Heavy is a powerhouse of destruction who specializes in taking down The Machines, as HEAT Ammo doubles her damage against tough robotic enemies like the Cyberdisc or the deadly Sectopod.
Bullet Swarm allows her to move after firing or to take a second shot while standing still. With Shedder Rocket, she can target a group of aliens and cause them to take additional damage from supporting attacks for the rest of the turn.
Danger Zone and Mayhem boost the pain she can deliver to the alien menace by increasing the blast radius of rocket explosions and upping her overall damage output.
Animal Mother
Class: Heavy
Abilities: Holo-Targeting, Suppression, Rapid Reaction, Grenadier, Rocketeer
Taking the moniker of Full Metal Jacket’s machine gunner, Animal Mother protects and supports the rest of the squad. He provides a bonus to aiming for other soldiers who fire at the same alien with Holo-Targeting. Suppression lets him pin down an extraterrestrial invader by reducing its aim and gives him an automatic Overwatch opportunity should the creature try to move. This combination can be lethal when coupled with Rapid Reaction, which allows him to fire two reaction shots if the first one connects.
And because explosives are the only weapons that allow use of free aim, Grenadier and Rocketeer can give him extra opportunities to remove the cover from the map, thus exposing aliens and making them easier to hit.
The “Ellen Ripley”
Class: Assault
Abilities: Aggression, Close & Personal, Rapid Fire, Bring ‘Em On, Killer Instinct
Just like the heroine of another alien conflict, the “Ellen Ripley” takes the fight to the invaders. Aggression and Close & Personal increase her chances to score a critical hit while Bring ‘Em On and Killer Instinct up the base amount of critical damage. Allow those to act in conjunction with Rapid Fire (which lets her squeeze off two shots in quick succession at a single target) and Run & Gun, and your “Ellen Ripley” becomes a short-range extraterrestrial killer.
The “John Rambo”
Class: Assault
Abilities: Tactical Sense, Lighting Reflexes, Flush, Close Combat Specialist, Resilience
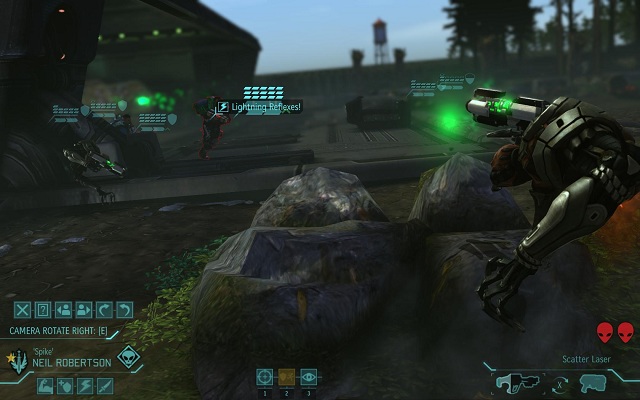
Based on the classic U.S. Special Forces character, the “John Rambo” is all about getting in close without taking a scratch. Tactical Sense and Resilience help keep him alive as he moves through the battlefield, and Lightning Reflexes allow him to automatically dodge the first volley of reaction fire to come his way. Close Combat Specialist gives him a free reaction shot (even if he’s not on Overwatch) for any enemies that step within four squares of his position.
All of these support his ability to get in and use Flush, which forces the targeted alien out of cover and into the open, allowing the rest of the squad to take it down easily.
White Feather
Class: Sniper
Abilities: Squad Sight, Damn Good Ground, Disabling Shot, Opportunist, Double Tap
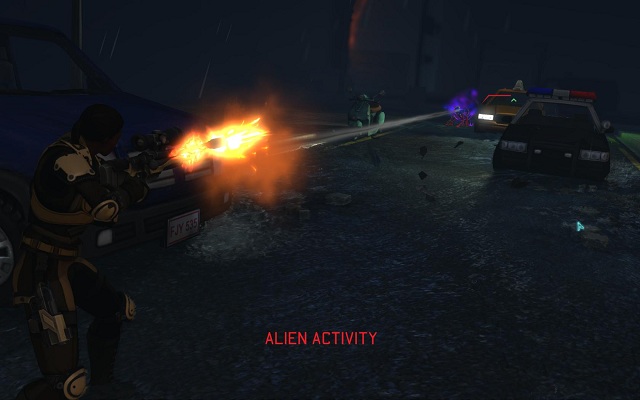
Named after U.S. Marine Carlos Hathcock, who once famously shot an enemy sniper through his foe’s own scope, White Feather specializes in killing aliens over long distances.
This class cannot move and shoot his rifle in the same turn, so Squad Sight allows your other soldiers to act as spotters. He’s able to target enemies beyond his visible range; although, he still needs direct line-of-fire. When in an elevated position, Damn Good Ground gives him an aiming bonus. This is the type of trooper whom you should position early in a skirmish and rarely move, if at all.
Double Tap, though, is this build’s most important skill, which lets him take two shots — any combination of regular, Headshot, or Disabling Shot (which causes the enemy’s weapon to malfunction) — per turn if he doesn’t move.
Private First Class “Hudson”
Class: Sniper
Abilities: Snap Shot, Gunslinger, Battle Scanner, Executioner, In The Zone
In contrast to White Feather, your “Hudson” turns the Sniper into a forward recon unit. The Battle Scanner, like the Aliens character’s motion tracker, lets him throw down a device that exposes an unseen area of the map — including any aliens within — for two turns.
Since he moves with the squad, Snap Shot comes in handy. This ability lets your Sniper fire his rifle on the move but with reduced precision. Executioner, which provides a bonus to aiming against low-health targets, should help mitigate that in certain situations.
Gunslinger adds damage to attacks from his sidearm — just in case an alien is too close for comfort (the sniper rifle has an aiming penalty for close-range targets). And In The Zone, in which a sniper rifle shot won’t cost an action if it kills a flanked or uncovered target, is more useful when you can reposition as necessary.
Combat Medic
Class: Support
Abilities: Sprinter, Field Medic, Revive, Combat Drugs, Savior
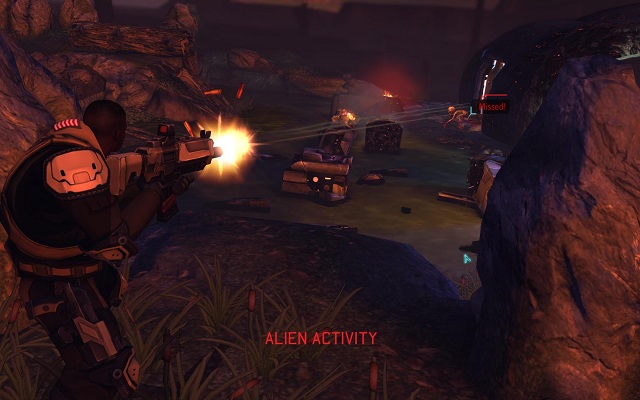
The Combat Medic is just that: a specialist in keeping your soldiers alive. Sprinter allows him to cover more distance and reach a downed-but-not-out soldier before he bleeds out. The Field Medic ability increases the number of Heal and Stabilize applications from one to three, and Revive changes Stabilize to bring back fallen (but not out) troops into the fray with 33 percent full health.
The “Blaine Cooper”
Class: Support
Abilities: Covering Fire, Smoke and Mirrors, Rifle Suppression, Dense Smoke, Sentinel
Like Jesse “The Body” Ventura’s minigun-wielding badass from Predator, this build ain’t got time to bleed. Your “Blaine Cooper” turns the Support class into an aggressive but still assist-focused role. Covering Fire lets him take reaction shots against aliens who fire as well as move, making Overwatch a more useful ability. Sentinel goes further and allows two reaction shots per turn. Rifle Suppression is the same as the Heavy’s Suppression, giving him better control of the battlefield.
Smoke and Mirrors lets him carry an extra smoke grenade, which pairs well with Dense Smoke’s doubling of the defensive bonus.
With an advanced team, your soldiers’ abilities can complement one another to really turn the tides. You could, for instance, use your Animal Mother to lay down a suppressing fire and paint an alien with Holo-Targeting while your John Rambo dodges reaction fire, gets in close, and flushes it out of cover. Then your White Feather can pick off the exposed enemy from a safe distance with almost no chance of missing.
On the next page, I’ll discuss how to keep your squadmates alive in the field and emerge victorious from battle.
Combat tactics
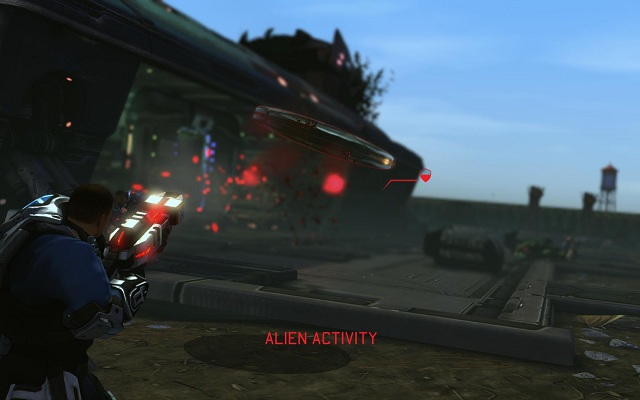
Enemy Unknown’s squad-level skirmishes are all about smart positioning. You need to intelligently use cover to your advantage, know when to push forward or when to pull back, and how you should use your soldiers’ special abilities.
Understanding how cover works
Ducking soldiers behind parked cars or hugging them against brick walls are maneuvers critical to their survival.
A colored shield indicates the specific terrain bonus or penalty currently affecting a unit. A half-filled blue shield means half cover, which confers a penalty to an attacker’s to-hit percentage; a full blue shield is full cover, which doubles said penalty. A yellow shield shows that the unit is flanked, which gives the attacker a bonus to his aiming. A red shield indicates that the unit is exposed on at least one side.
X-Com vets, this part is for you: Cover doesn’t work the same way as it has in the series’ past. You might recall that planting a trooper behind a solid wall would not only shield him from enemy fire but also obscure him from view. This is not the case with Enemy Unknown.
Cover, whether half or full, does not hide your squad from the enemy; however, if the cover your soldier is behind is full cover and also surrounded by full cover, then he will be obscured so long as he is not also flanked.
Keep this in mind when moving up the battlefield. Sometimes it is more beneficial to hide your soldier than to place him on a wall corner or the edge of a truck. He will be visible, and that means that aliens can target him during the computer’s turn.
You’ll also want to “bunny hop” your team as you bounce from cover to cover. Have a trooper move once and then go into Overwatch. March the next just ahead of his squadmate. On the following turn, move that soldier up once and put him into Overwatch while the other advances just in front of him. Doing so allows you to provide covering fire over your forward units without advancing too quickly or too slowly.
Exploiting of the “alien reveal” free move
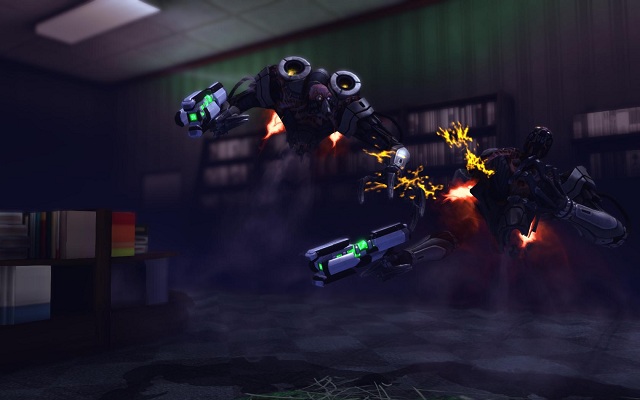
No longer will spotted extraterrestrials merely stand in creepy silence with cold blank stares on their faces. Enemy Unknown takes a more action-orientated approach as any time your soldiers eye some Martian scum, the camera swoops in for a dramatic entrance. This inevitably gives your opponents a free move to cover during your turn.
What gives? Well, you don’t have too much to worry about. Here are a couple tips to help you deal with this.
First, don’t dash! Since discovering aliens on the map no longer interrupts an already in-progress action, dashing can easily leave your soldiers in undesirable locations. You won’t be able to reposition them after making such a move.
Only dash under specific circumstances: If you have a trooper very far from a firefight and need to close the distance fast, if you need to get a medic to a wounded or downed comrade, or if you’re relocating a Sniper who can’t move and shoot with his rifle anyway.
Second, put units into Overwatch midturn. Even though it hardly makes sense, troopers in Overwatch take reaction shots against any alien that moves — no matter whether it’s your turn or the computer’s. Thus, putting soldiers in Overwatch causes them to fire on aliens making this free-reveal move.
A good place to set up these kinds of ambushes is while exploring UFOs. The aliens’ spacefaring crafts are filled with choke point doors where you can position three to four soldiers on Overwatch. Opening the entrance sometimes immediately reveals the extraterrestrials inside, thus giving your squad an opportunity for reaction fire while your enemies are still in the open. This is especially easy to prepare outside of the control room, where Outsiders (the crystal-shard guys) frequently spawn.
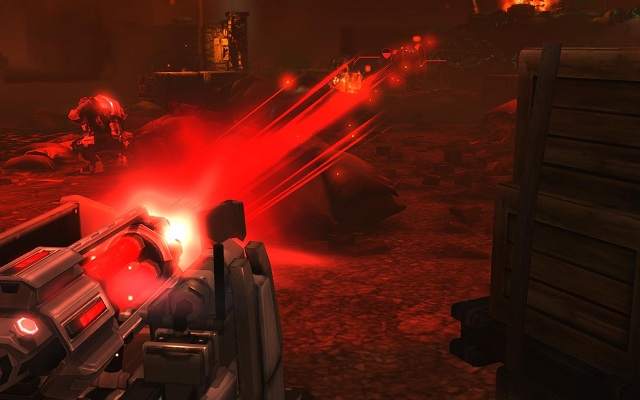
Surviving early battles
At the beginning of Enemy Unknown, you’re especially outnumbered and outgunned. The aliens have deadly accurate plasma weaponry while you’re still trucking around with basic ballistic firearms. But you can increase your squad’s chances of not coming home in body bags with these tips.
First, use explosives a lot. Disregard the whining of your science officer. What’s better? Some weapon fragments or the lives of your soldiers? Liberal destruction of the battlefield with grenades and rockets is one of your best options. Doing so will not only remove the cover protecting the invaders but explosives can also usually eliminate more than one opponent at time, quickly evening the odds.
Second, equip the Nano-fiber Vest as soon as you can. Hopefully, you’ll have a couple of Heavies at this stage, and with their rocket launchers, you should be able to drop grenades and instead equip this protective gear. The additional health before having researched the first armor upgrade can make the difference between life and death for your troops.
Finally, bring along a S.H.I.V. with rookie squads. These are mobile weapons platforms that also act as light cover. They come preequipped with powerful weaponry, can eventually use Suppression, and can really take a beating — much more than your squishy soldiers. Even though they won’t gain experience — and you have to sacrifice a whole seat in the Skyranger — they help keep your more valuable men and women under your command alive. The longer the meat bags survive, the more ranks they can reach and the more specialties they can unlock.
Good luck, commander
Now that you have a better idea about how combat works; how you can build your soldiers into lean, mean, alien-killing machines; and how you should approach the tactical skirmishes that form the heart of XCOM, get out there and give ’em Hell!
Come on, you apes! You wanna live forever?
Having trouble with Enemy Unknown’s strategic layer of research, engineering, and base management? This guide has 8 tips that could help.
VentureBeat's mission is to be a digital town square for technical decision-makers to gain knowledge about transformative enterprise technology and transact. Learn More
